
Bring your neighborhood together this fall with a thankful tree. Here are 5 simple steps to make this Thanksgiving memorable.

Make a Thankful Tree
It’s been 5 years since we did our first neighborhood thankful tree. It was inspired by my dear friend Stacy who had started the tradition the year before. I thought this was the neatest idea! With some helpful tips from her and the enthusiastic support of my husband, we decided to do one in our neighborhood.
Our first year was a little rough. Between icky weather, last minute planning and sick kids, we got a pretty late start in putting our tree out. I think we had everything in place maybe 10 days before Thanksgiving. Even with short notice and a Charlie Brown looking thankful tree, we still had a few neighbors who participated and enthusiastically applauded our efforts.
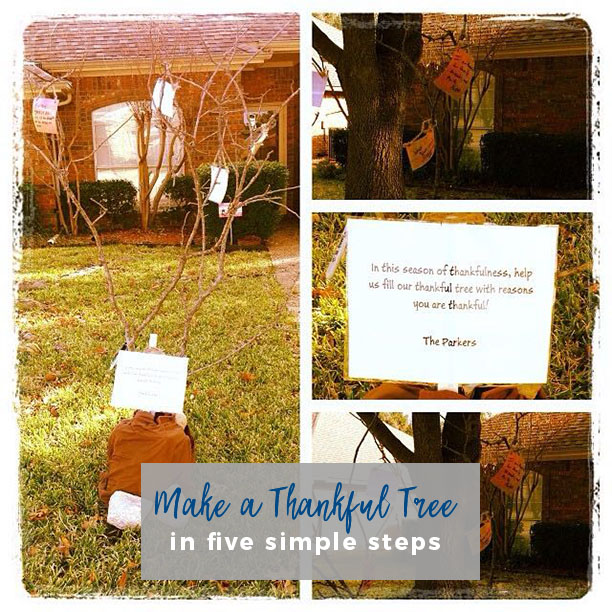
Over the years our trees have taken on different looks, but the neighborhood response has always been so heartwarming. We’ve seen thankful notes for freedom, the ability to vote, for babies on the way and friendships. It is such a neat neat experience, I just can’t stand to keep it to myself and our neighborhood. We are hopeful that our community of thankful cards will continue and that this will spread to other neighborhoods in the years to come!
I’d love to share with you what we do to prepare for our Thankful Tree and challenge you to do something similar in your neighborhood THIS YEAR.
Step 1: Gather the Supplies
- 5 gallon bucket (highly suggest a sturdy one)
- bag of playground sand or heavy rocks (various sizes)
- burlap or heavy material
- large branch
- scrapbook paper or die cut paper
- twine, jute or sturdy string
- scissors
- access to a laminator
- sharpie markers
Step 2: Prep the leaves
This is, by and large, the most time consuming part of the process
Using scrapbook paper, cut squares large enough for one to write 2-3 sentences. Or you can purchase pre-cut shapes like these.
Laminate the cut “leaves”. This may seem like an unnecessary step but one light rain or ice encounter and the leaves would be ruined without lamination. Trust me. It’s worth it to take the time to make them a little sturdier. After you’ve finished laminating the “leaves”, cut them out and use a hole punch. One all the leaves are cut and punched simply run twine through the holes and tie.
Step 3: Set it all up in the front yard!
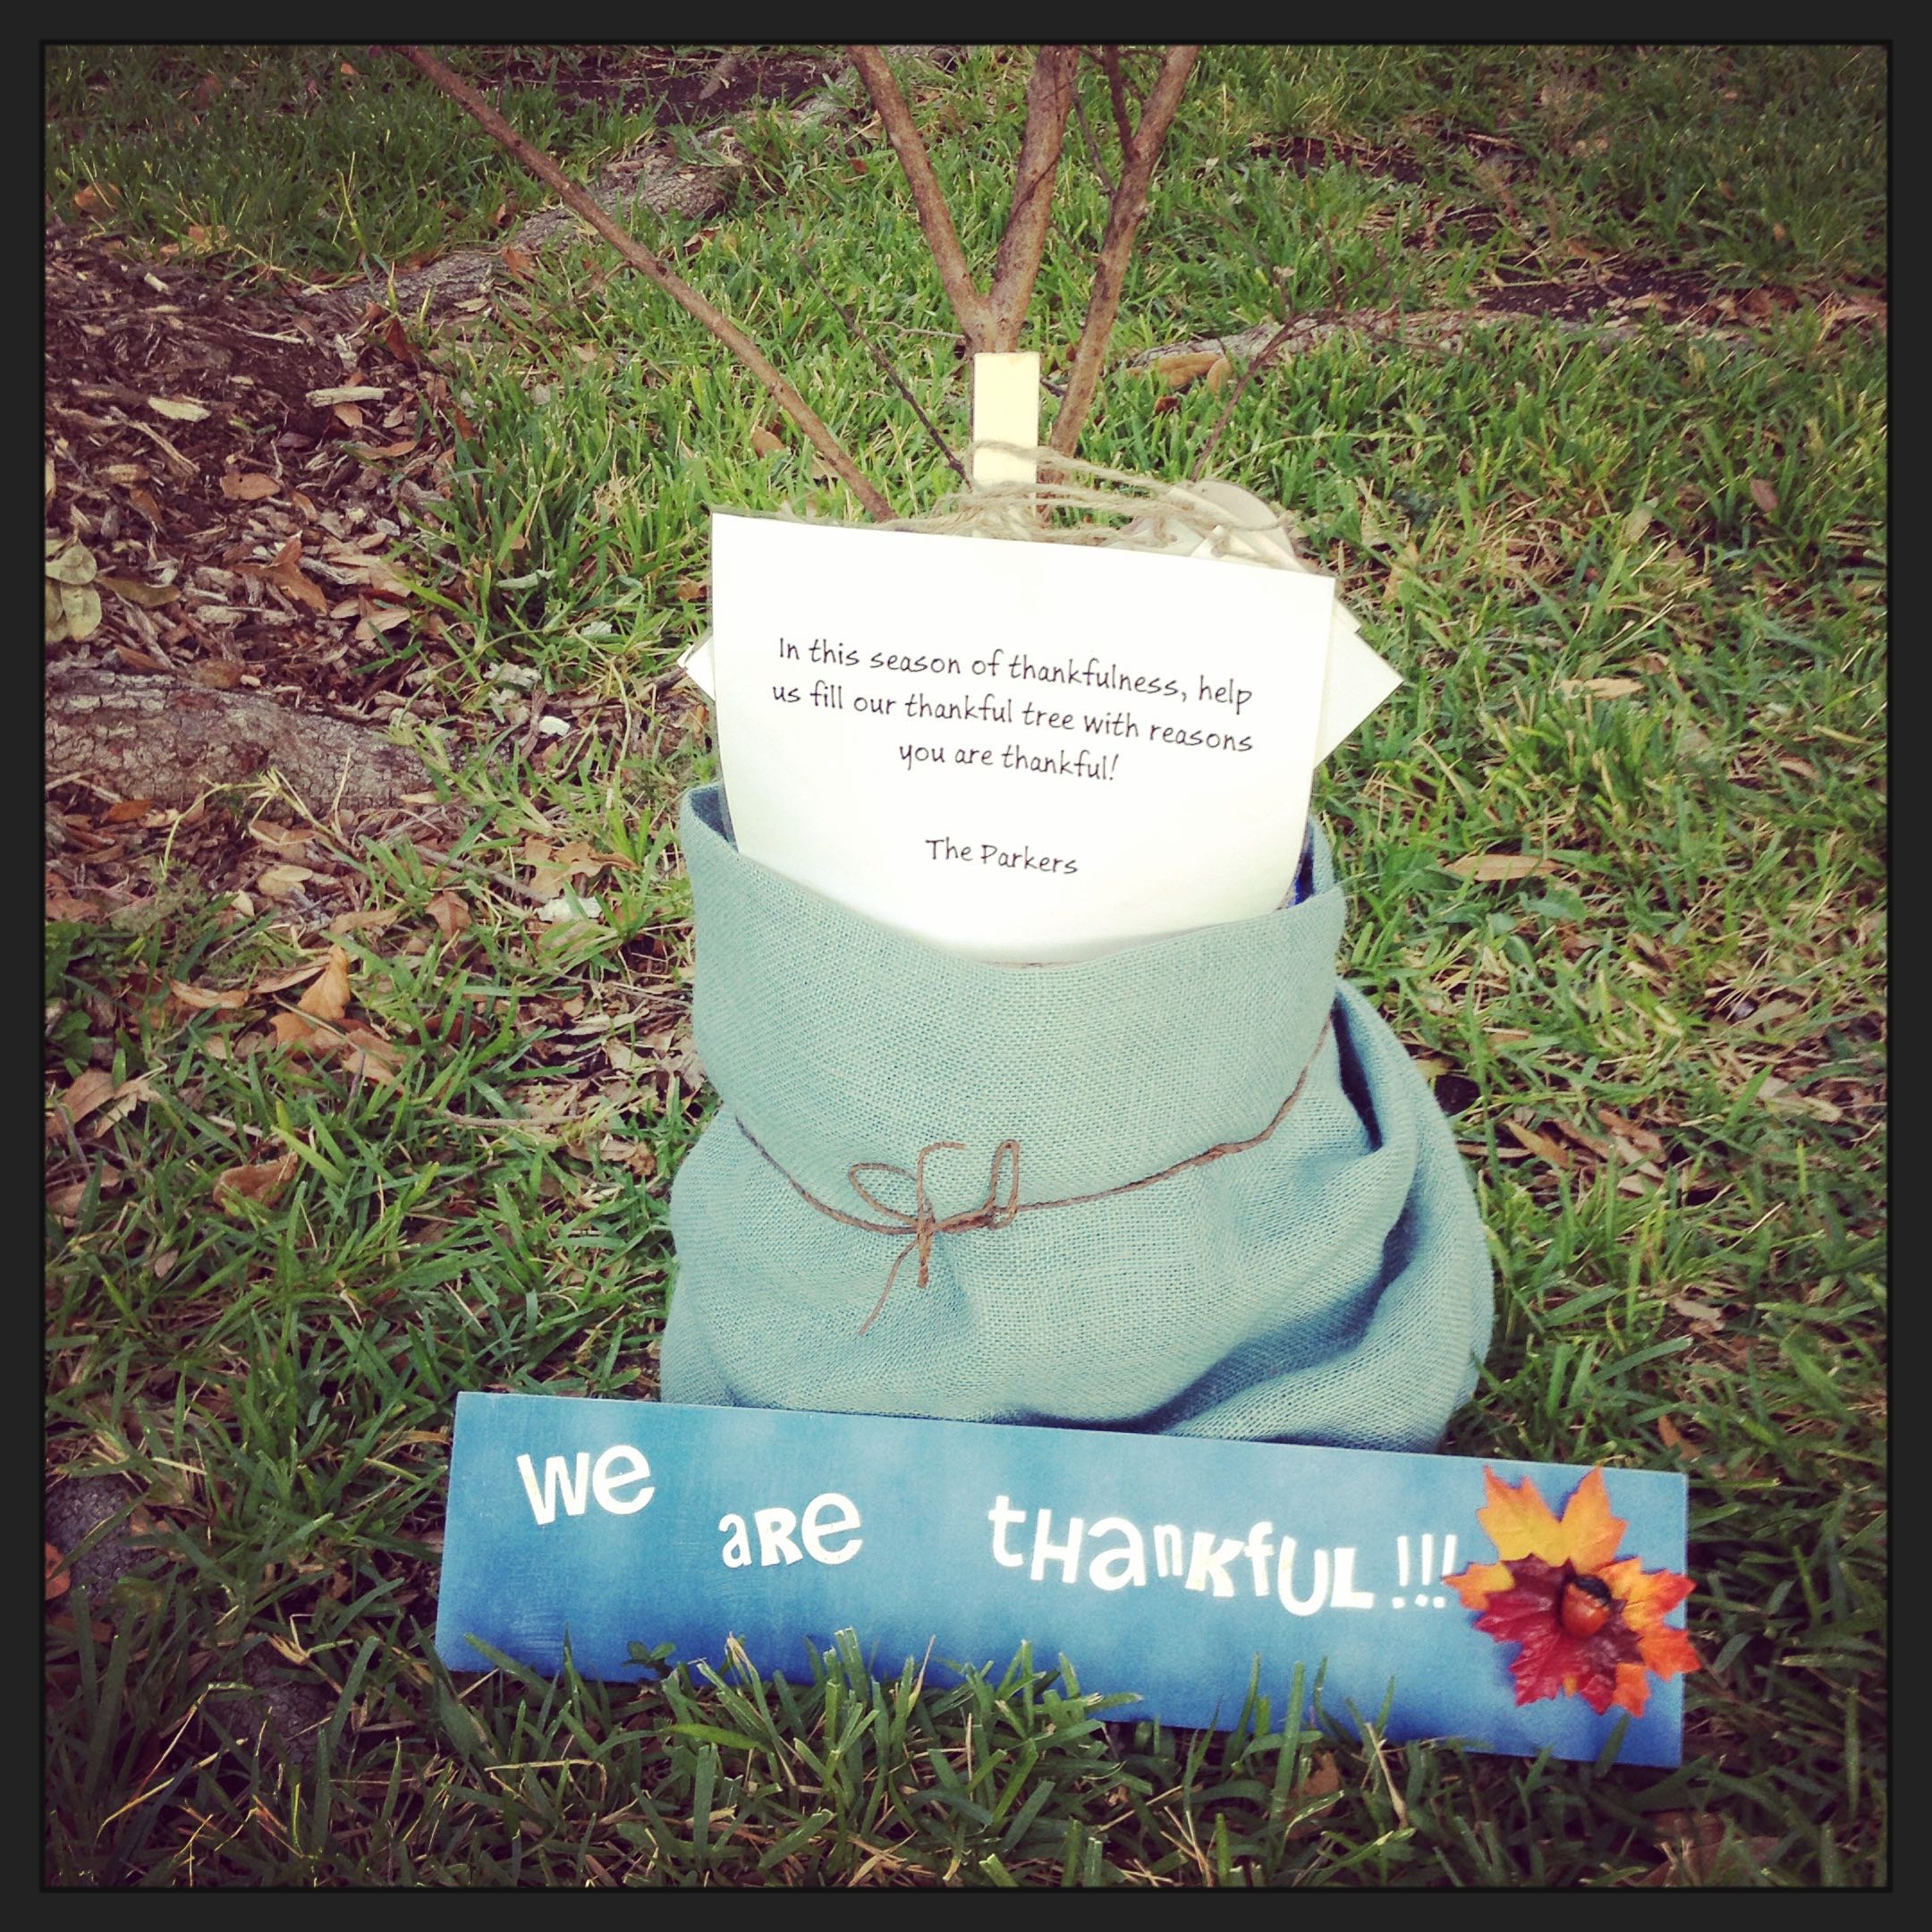
We learned from experience that finding a flat level surface in the yard is very important especially on windy days! Once you’ve identified a spot, set up your bucket and place the branch upright inside. This will require two people; one to hold the branch upright and the other to pour the sand or place the rocks in the bucket. You’ll want to make sure the branch stands securely on it’s own. Next take the burlap and wrap it around the bucket. You may want to use safety pins or clothes pins to secure it in place. Place the leaves on the tree or in a container beside the tree along with a few sharpies.
Step 4: Invite the Neighbors!
This is my favorite part. There are many ways to invite your neighbors to get involved. We always take advantage of our local neighborhood social site called Next Door. One year we actually went door to door and left goodies bags with 30 of our closest neighbors inviting them to come on over when they had a chance. We always leave a sign out with an explanation of what our Thankful Tree is all about. Bottom line: get the word out! You know how that works in your neighborhood!
Step 5: Enjoy the Community of Thankfulness that Builds
We plan to set up our tree the first weekend in November. We’ve already had neighbors ask if the “thankful tree” will be returning! November is a great month to celebrate all the many blessings and gifts we have in life. You can be a catalyst in bringing your neighborhood together to give thanks! Will you join me?
Thankful Tree Hack: Last year our next door neighbors offered us a beautiful outdoor Christmas tree to use for the Neighborhood Thankful Tree. Since we didn’t have to acquire a bucket, sand and a branch, it was relatively easy and quick to set up the tree. Thanks to ground anchors, it’s secure, and when the lights come on at night you can see it the minute you turn on our street!


Leave a Reply